quilt 101
I have been wanting to learn the foundations of quilting so I took a class at the Textile Arts Center in Brooklyn. Here are my notes from class along with a record of my progress on my first quilt!
Week 1
This was my first day of Quilting class! We learned how to pick fabric, choose a pattern, and cut our squares. I chose to work with 6-inch blocks as a beginner. I made a 6 1/2 stencil for my square out of cardboard, which made the cutting of the fabric much easier! The extra half inch on the squares allowed me to make my triangles with a 1/4 inch seam allowance. Once the majority of my triangles were cut, I played around with different fabric combinations.


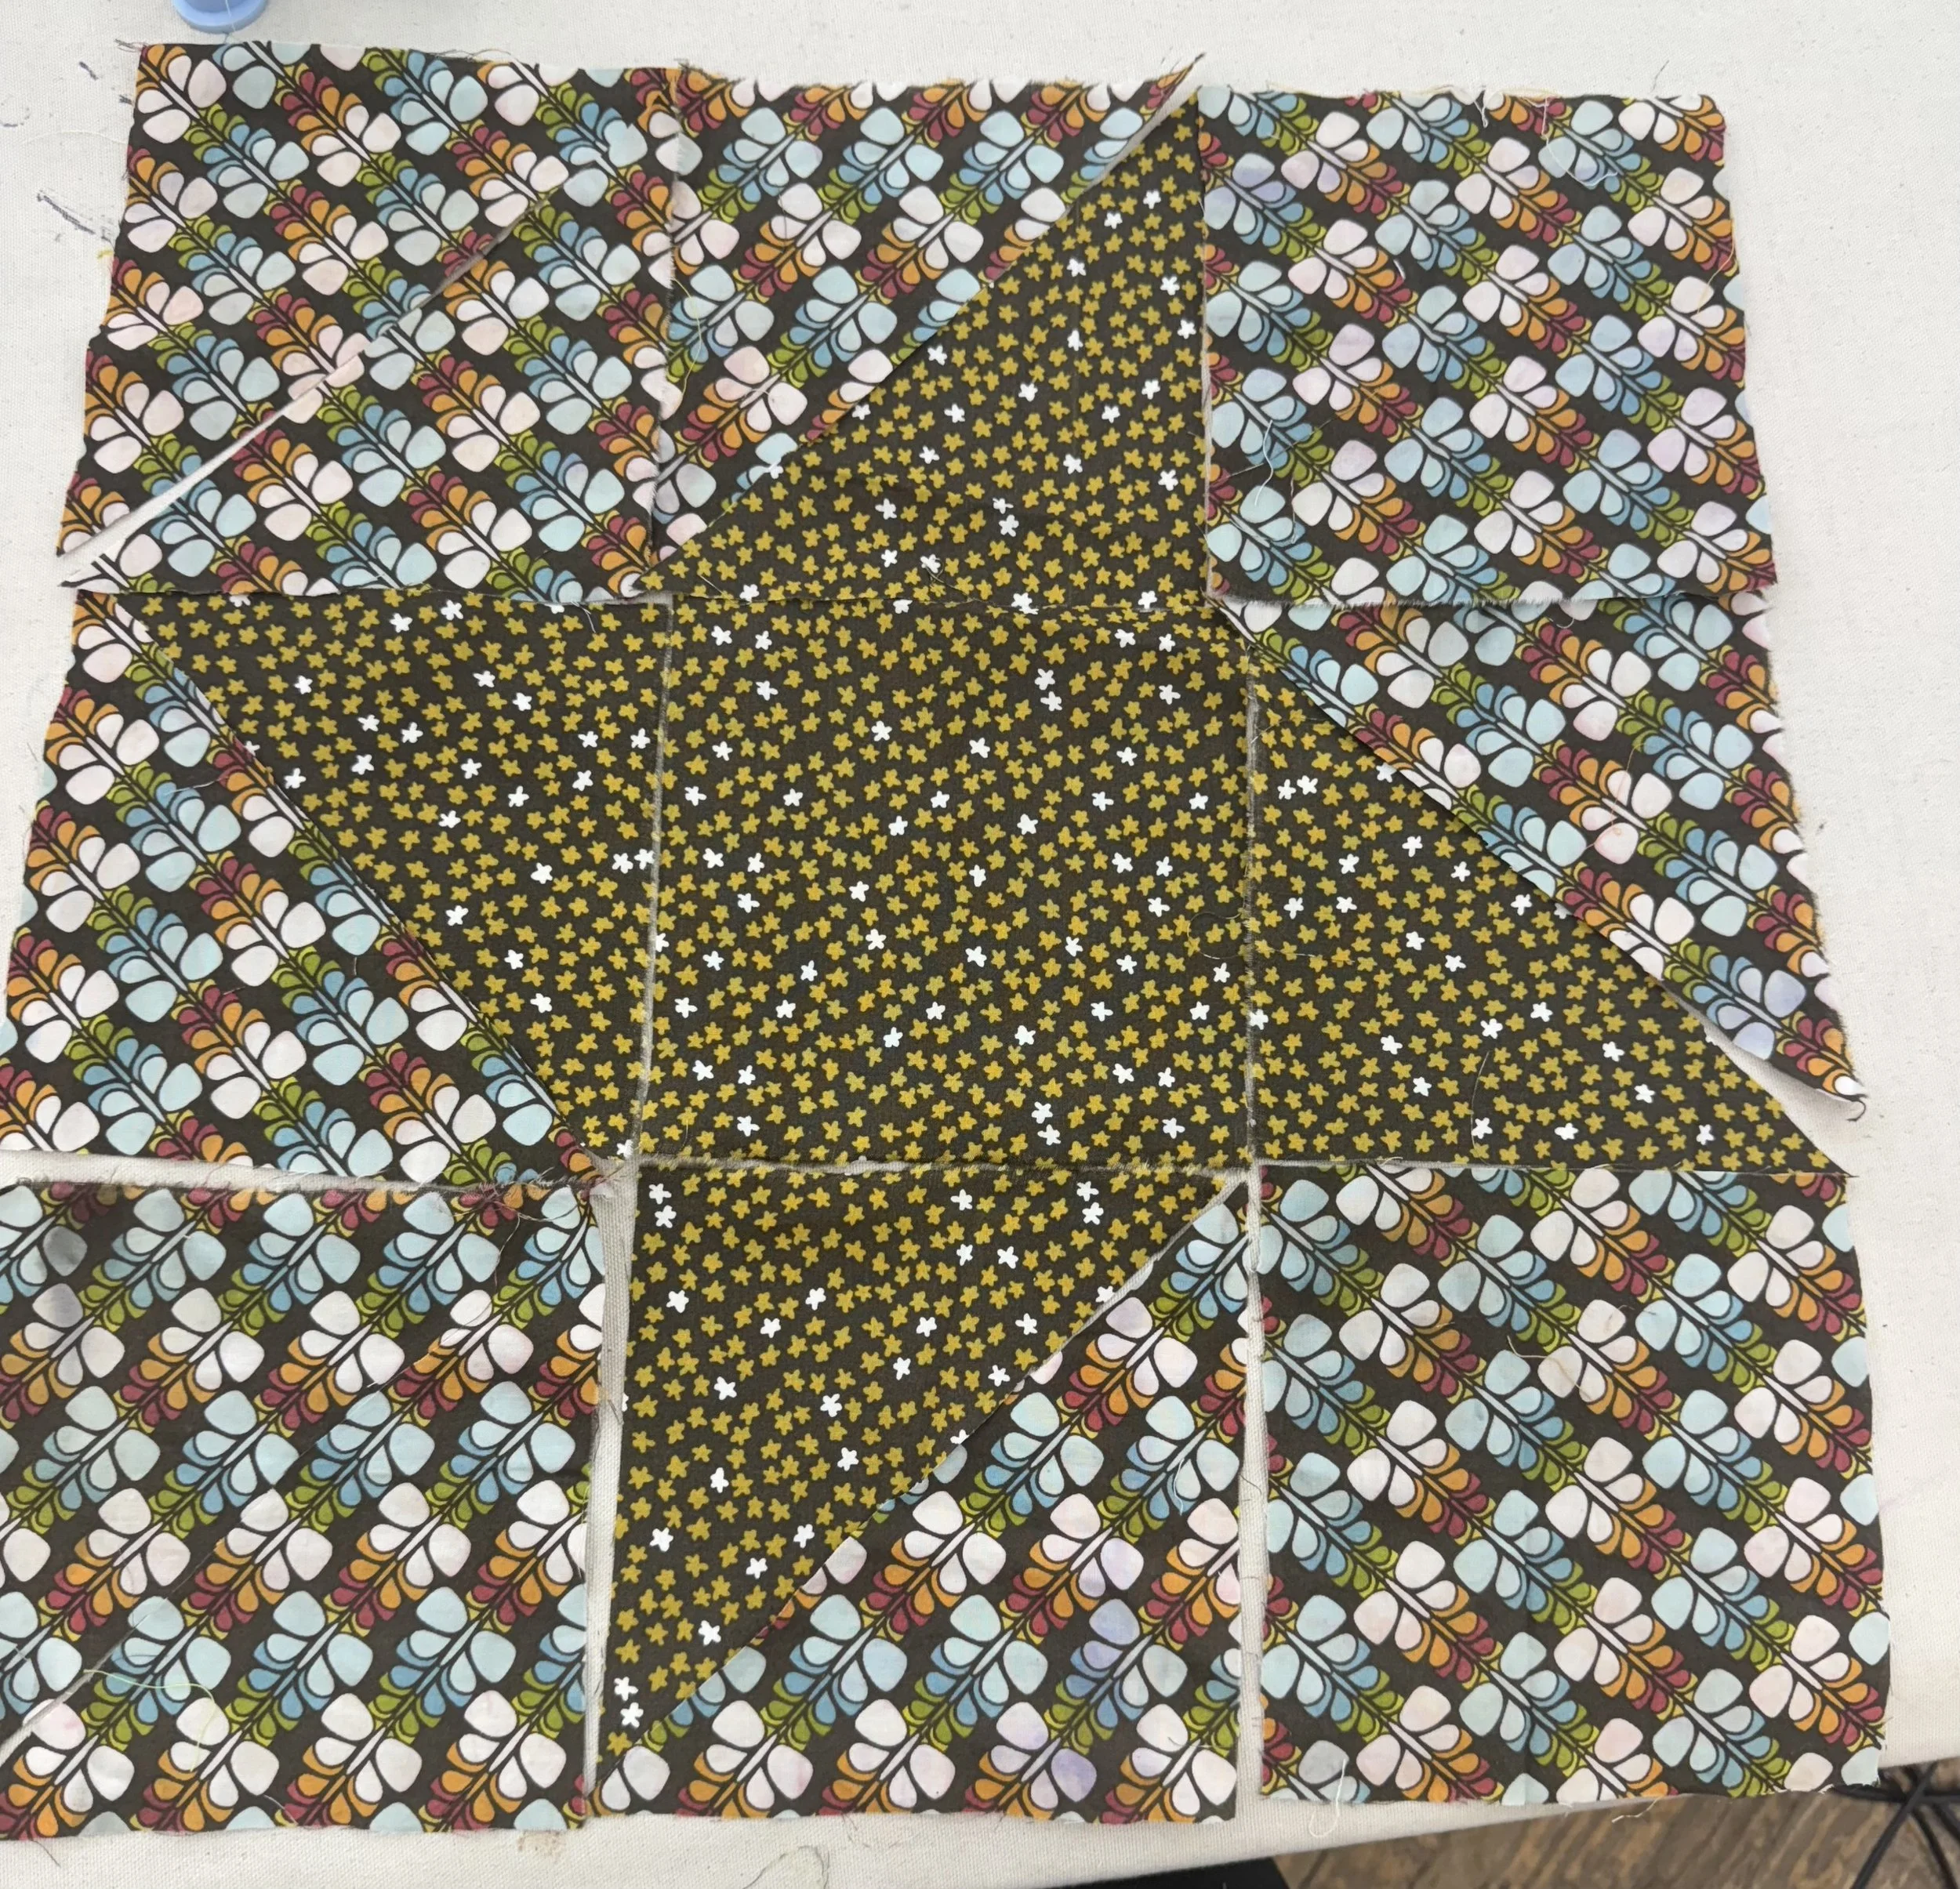
Week 2
I decided to put the butterfly fabric as the background and the star pattern as my star to create more contrast. This week, I finished cutting my squares and started sewing my patchwork together. First, I attached my triangles to make squares; then I “squared up” my work (made the resulting squares perfectly 6 inches) and continued joining my squares to create my entire pattern.

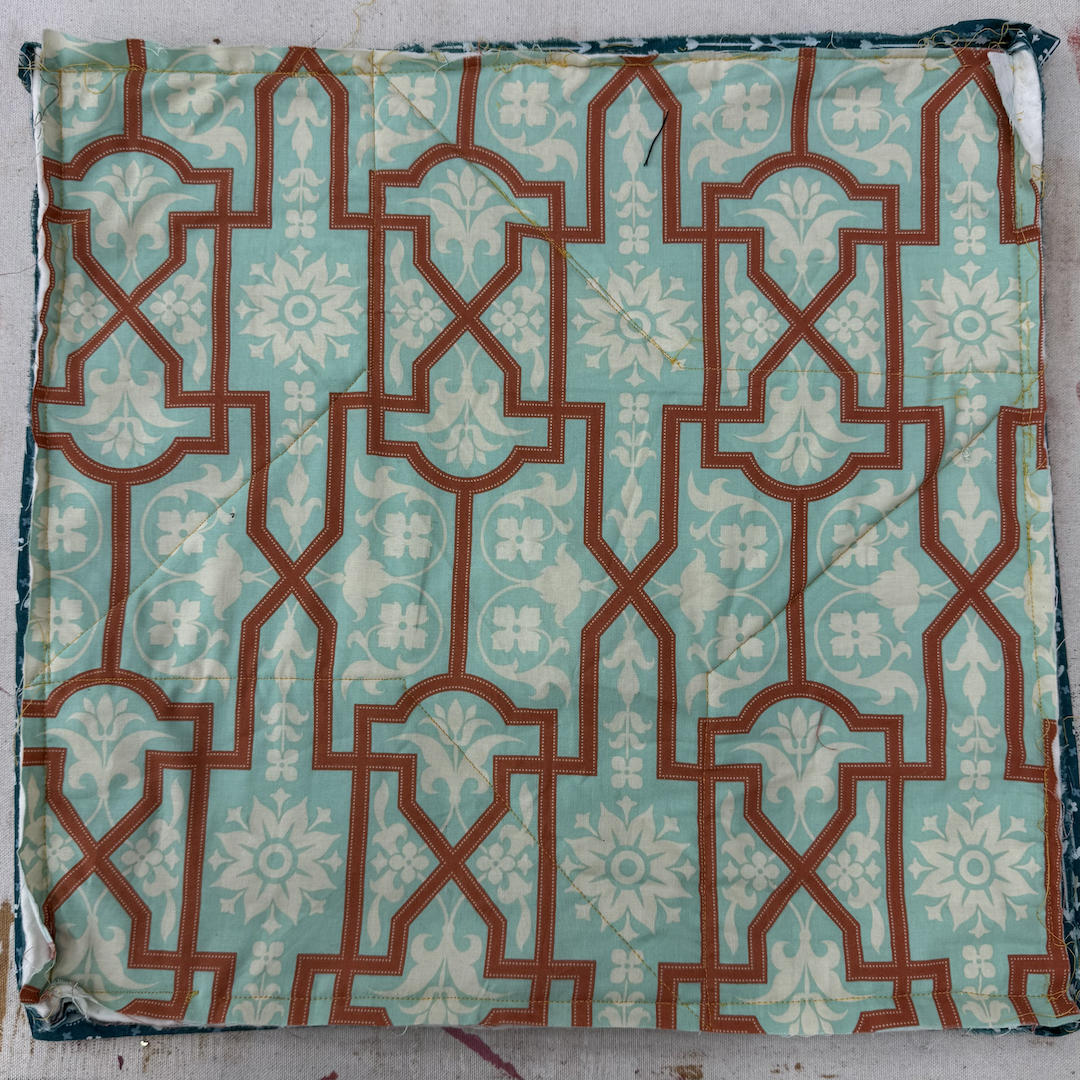
WEEK 3
This week I finished sewing my patchwork! Next up was cutting my binding, batting (stuffing that goes in the middle), and backing. I cut the batting and backing larger than my quilt top to allow for any errors.
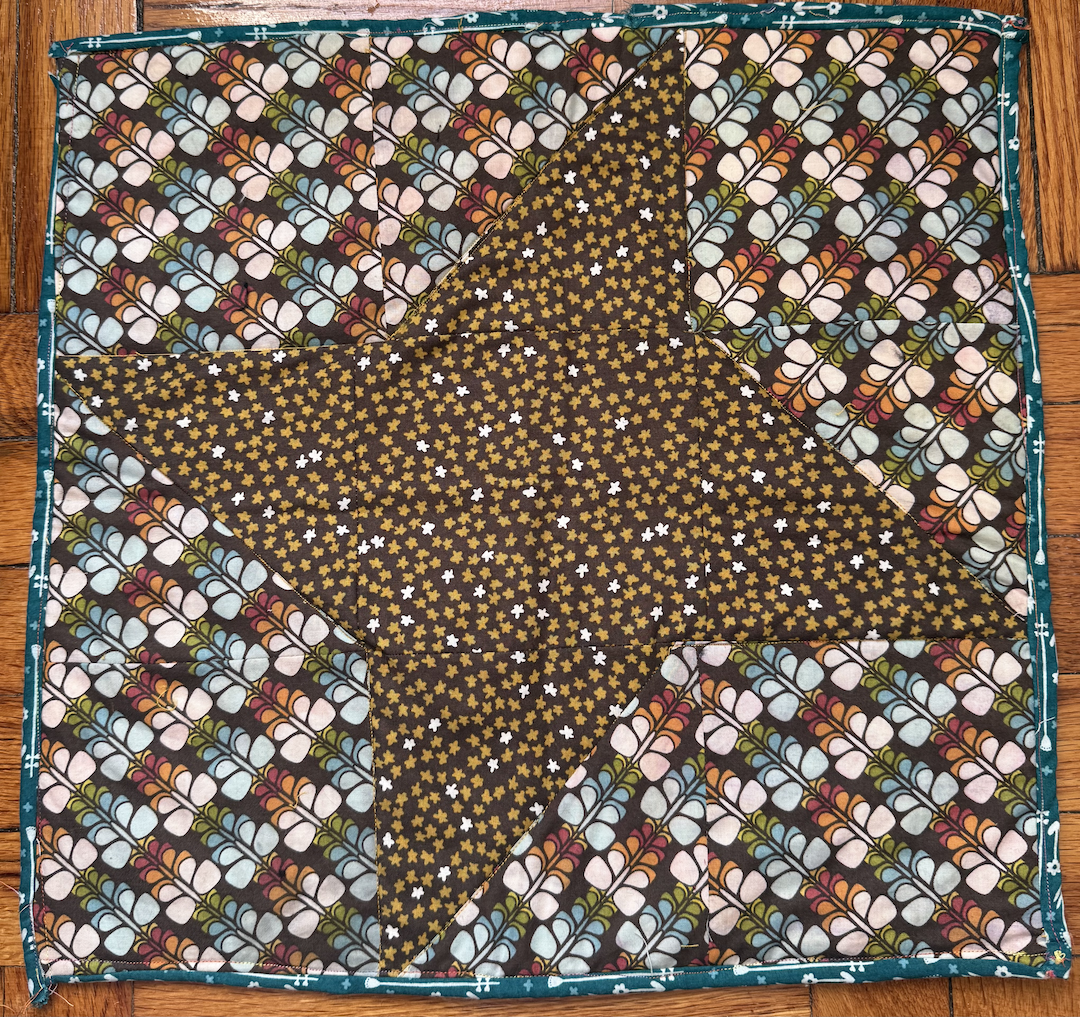
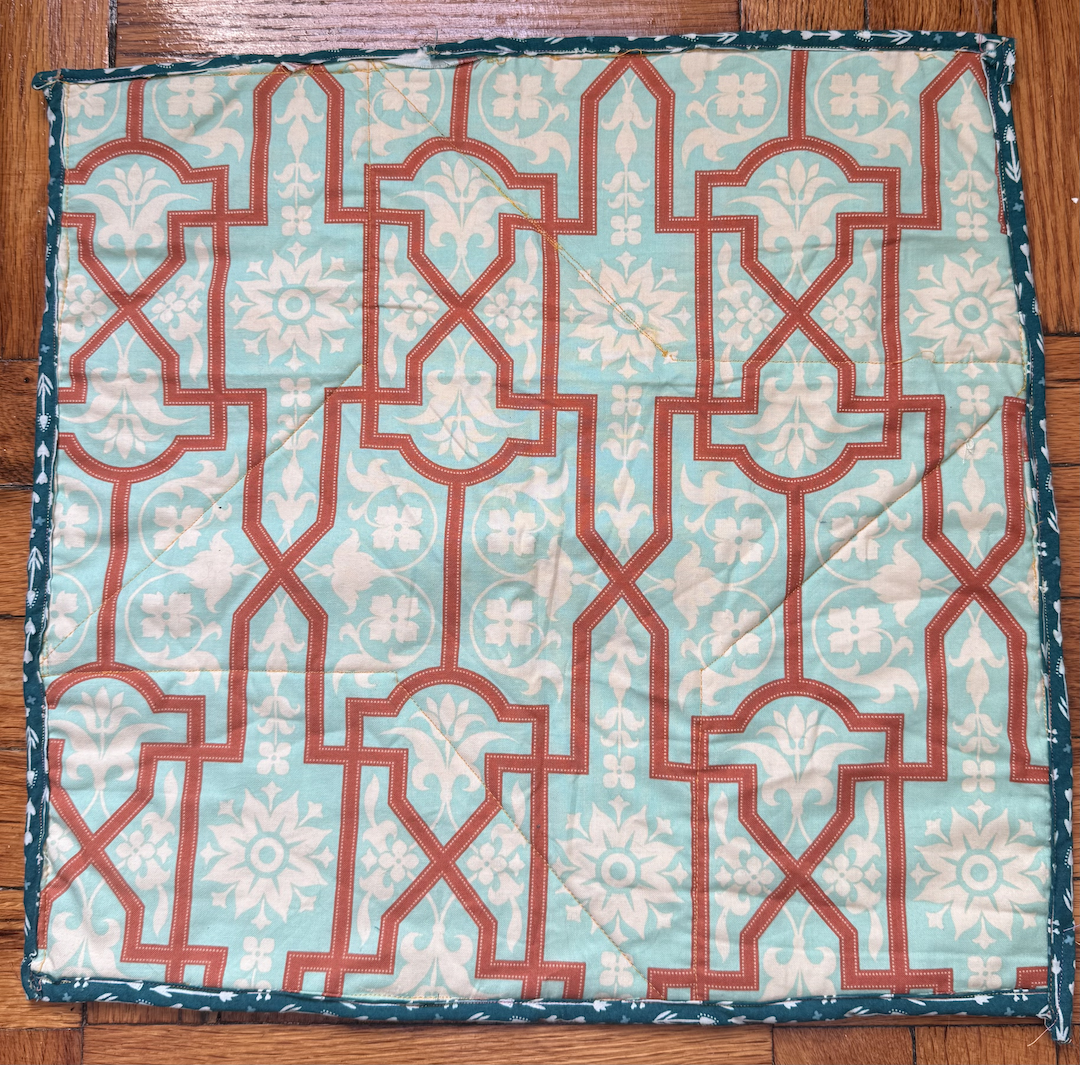
wEEK 4
Today I completed the “quilting” part of my quilt, which is stitching the top pattern, batting, and backing together. Before doing this, I had to “baste” my quilt by inserting safety pins every 5-6 inches of the quilt to keep everything in place. Then I took my work to the sewing machine. I chose to use the outline of my star as my quilting pattern. After the quilting was completed, I finished the piece with affixing the binding to the front and back.